Proxies
Step 1: Buy a proxy server
- Go to the Minecraft Proxy Server page and buy a server
Step 2: Setup the proxy server
- Start the server and when it has finished installing, Navigate to the
velocity.tomlfile via the file manager. - Enable Private IP on the backends
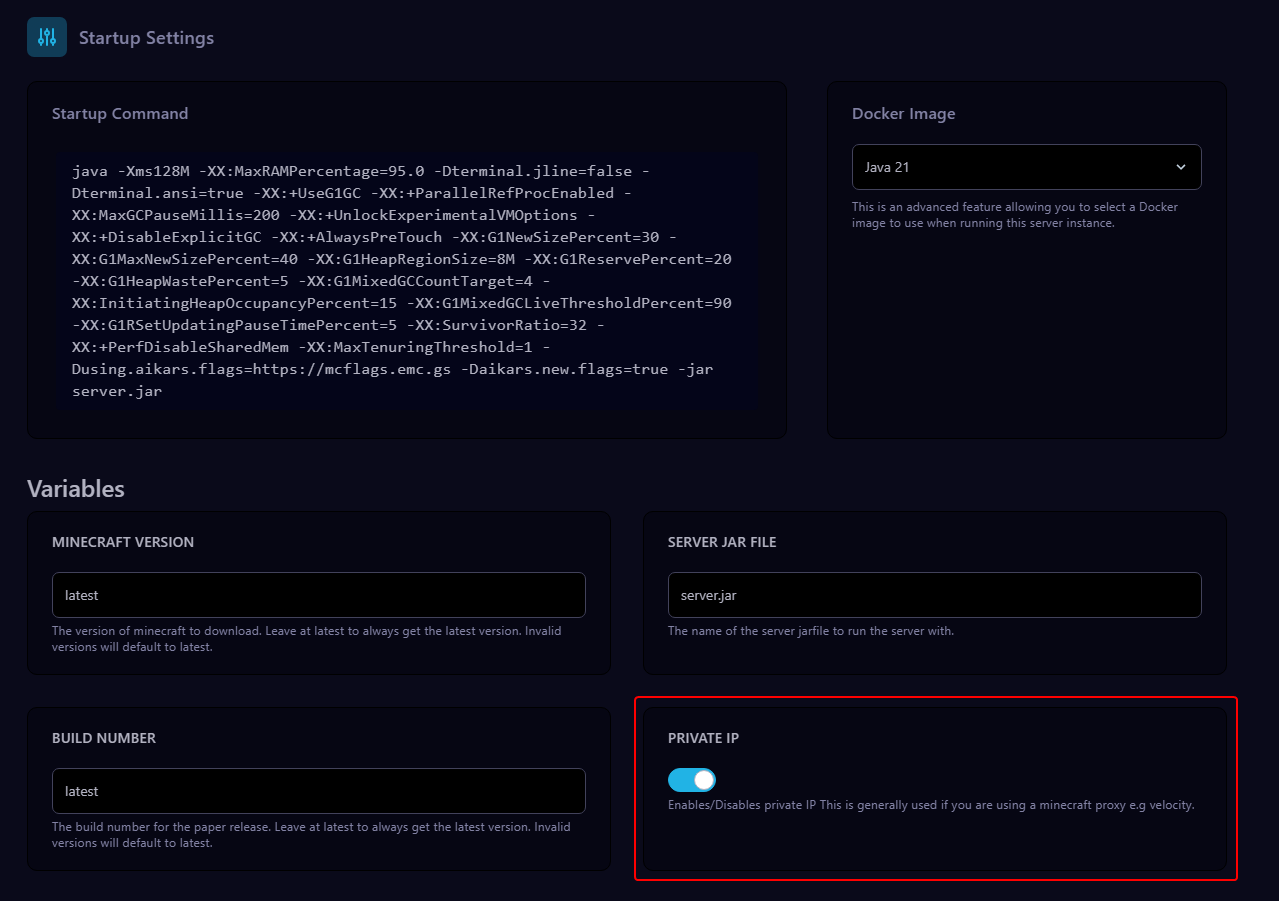
- You should see the private ip for your backend server on the network tab
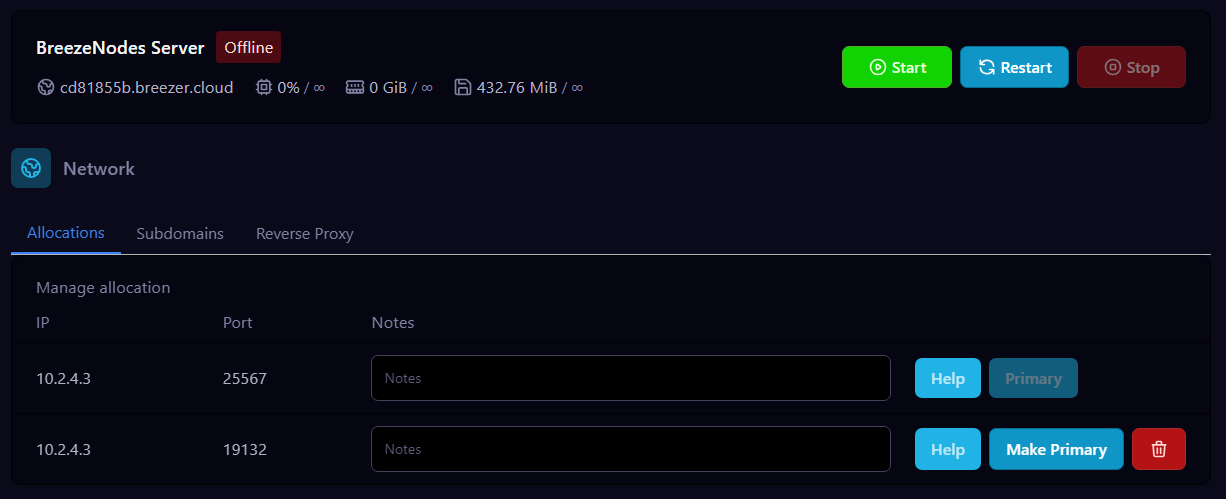
- Go to your proxy, and scroll down until you see the
[servers]list - Copy the IPs to your backend servers, and add them like this for example:

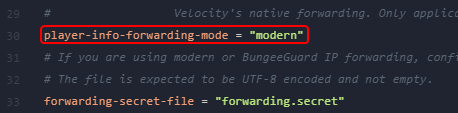
- Search for player-info-forwarding-mode, and change this to modern
Step 3: Setup backends
- Navigate to your Minecraft PaperMC Server
- Go to the folder, config → paper-global.yml
- Press CTRL+F if you are on a windows machine, and search for
velocity - Change
enabled: falseto true and add the secret of which we had copied earlier from the proxy server. - Navigate to
server.propertiesand changeonline_mode=trueto false. - Last of all, Go to the
bukkit.ymlfile, and changeconnection_throttle = 4000to -1.
All finished!
Connect to your network server via the proxy server and enjoy!